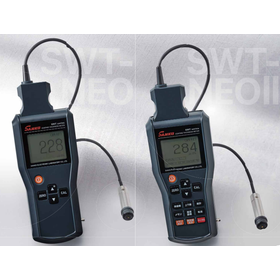
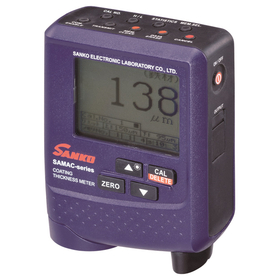
Fluorescent X-ray Thickness Gauge EX-851
Measurement is smoother with autofocus equipped.
● The measurement section monitor screen displays the distribution of plating adhesion on the measured object visually. ● By adopting Windows software, the report creation function is enhanced. ● Note: Notification to the relevant Labor Standards Inspection Office is required for use.
basic information
X-ray source: Oil-immersed small micro-focus X-ray tube Target: Tungsten Tube voltage: 50 kV / variable tube current Irradiation method: Vertical irradiation from above Detector: Proportional counter Measurable range: Atomic numbers 22-24: 0.02 to about 20 μm Atomic numbers 25-40: 0.02 to about 30 μm Atomic numbers 41-51: 0.02 to about 70 μm Atomic numbers 52-83: 0.01 to about 10 μm Sample observation: CCD color camera (auto-focus) Table size: 200 × 200 Maximum height of measured object: 90 mm Main body dimensions: 740 (W) × 530 (D) × 660 (H) mm *For details, please contact us.
Price range
Delivery Time
Model number/Brand name
Fluorescent X-ray Thickness Gauge EX-851
Applications/Examples of results
Various types of membranes (see image)
catalog(1)
Download All CatalogsRecommended products
Distributors
The measuring instruments and inspection equipment from Sanko Electronic Research Institute strongly support quality control operations with numerous advantages, including: ◎ High precision and high reliability ◎ Hardware that withstands rigorous professional use ◎ User-oriented design philosophy prioritizing operability ◎ Comprehensive support system backed by extensive experience and know-how.


